How to Publish on Google Play
Before You Start
This article walks you through publishing your Swiftspeed-built Android app to Google Play yourself: generate the AAB, upload to Play Console, fill in the listing, submit.
Prefer not to deal with Play Console at all? Swiftspeed also offers 1-Click Managed Publishing where we handle the entire submission for you, including version updates and rejection rebuilds. See the Managed Publishing guide for that path.
Three things you need to self-publish:
Google Play Console account ($25 one-time registration fee). Sign up at https://play.google.com/console with the Google account you want listed as the developer.
A signed AAB (Android App Bundle) generated from the Swiftspeed editor. Walked through below.
Marketing assets: high-res icon (512x512 PNG), feature graphic (1024x500 PNG), 2 to 8 phone screenshots (1080x1920 minimum), short description (80 chars), full description (4000 chars). The two tools at the end of this article will generate the icon and screenshot mockups for you in minutes.
Generating the AAB in the Swiftspeed Editor
Google Play requires the AAB (Android App Bundle) for new uploads, not the older APK. The editor produces both from the same Generate flow.
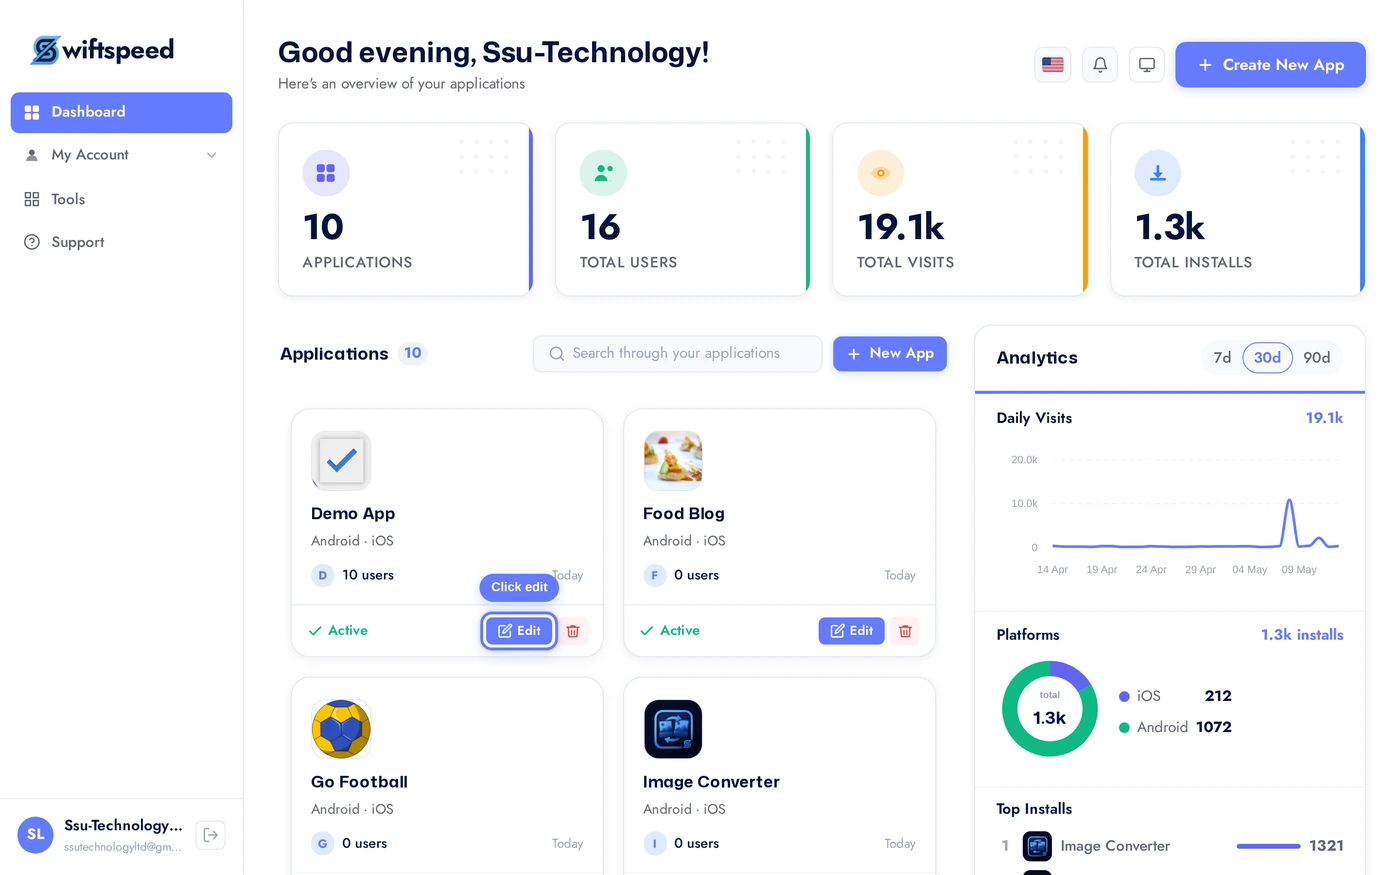
From the dashboard, click the edit pencil on the app you want to publish.
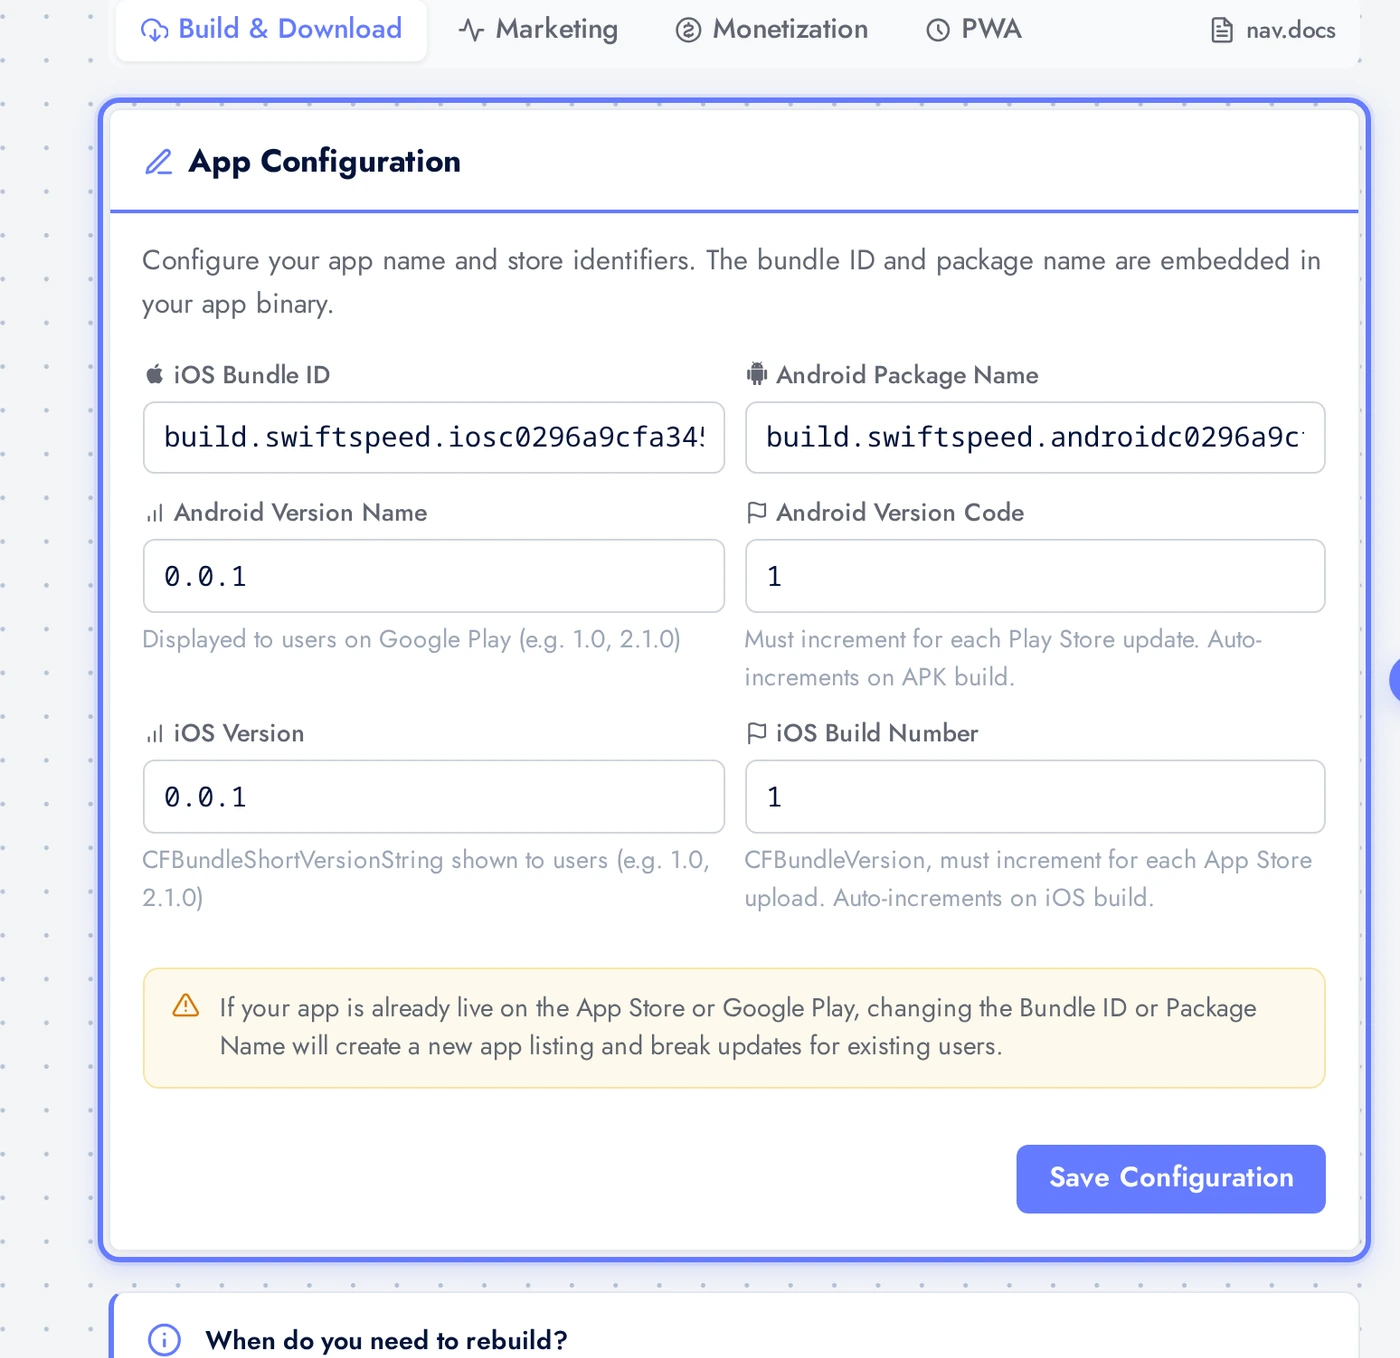
Top bar > Download > App Info sub-tab. Fill in the App Configuration card at the top: bundle ID (e.g. com.yourbrand.appname, must be unique forever), version code (auto-bumped per build), version name (e.g. 1.0.0). Click Save Configuration. These values flow into the AAB and are visible in the Play Store listing.
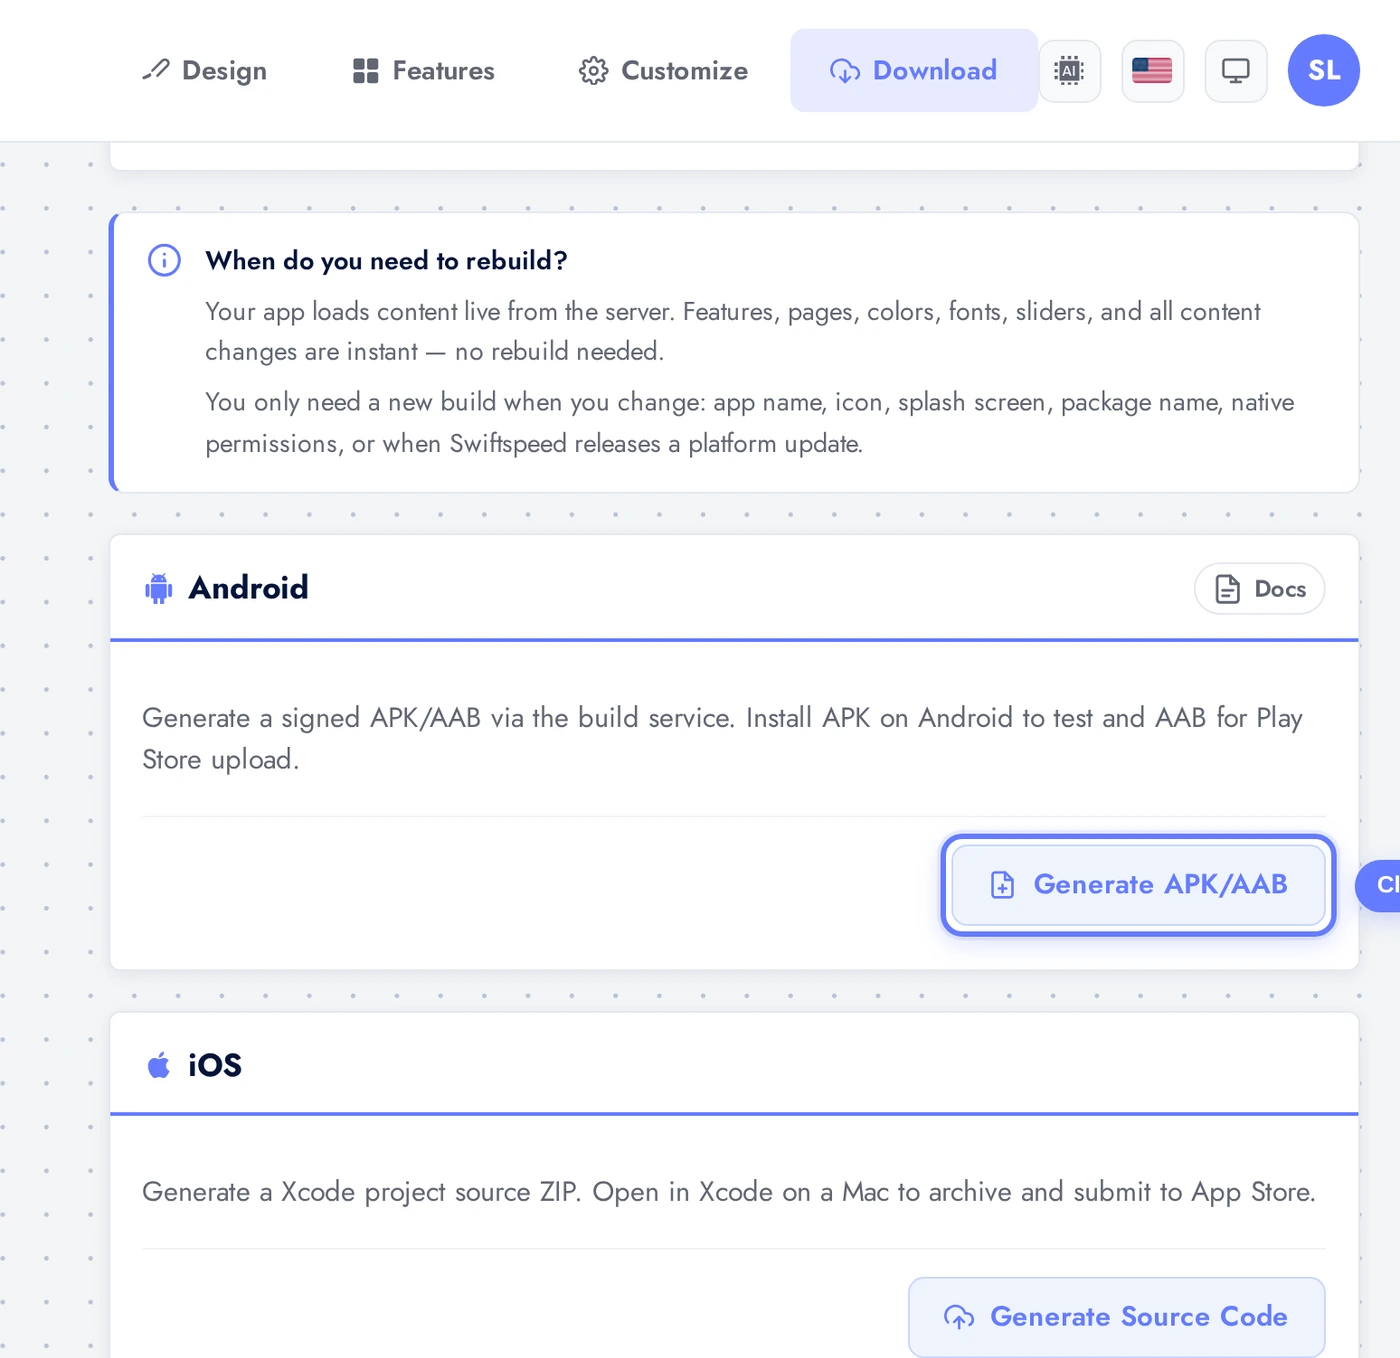
Scroll to the Android Build card and click Generate APK / AAB. The cloud build server runs gradle bundleRelease, signs the AAB with your app's keystore, and packages it. Status flow: Queued (a few seconds) → Building (5 to 15 minutes for a fresh build, 1 to 3 minutes incremental) → Success.
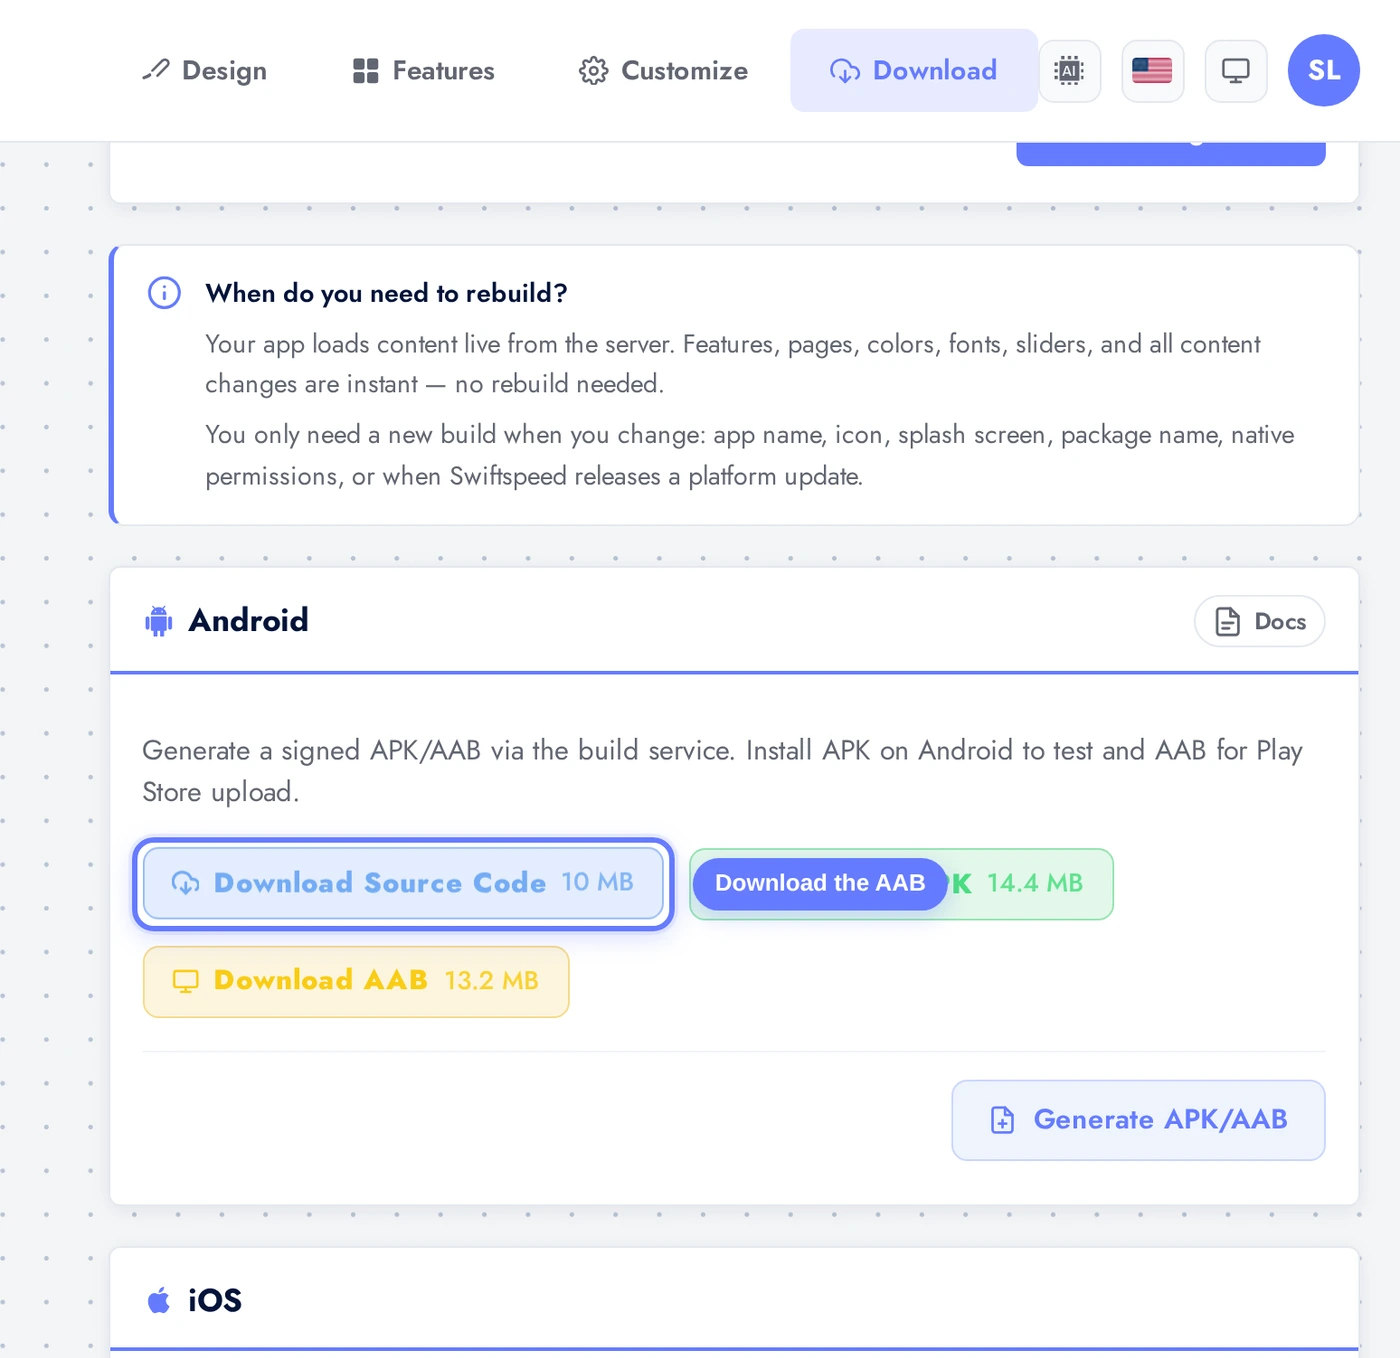
When the build finishes, the Generate button is replaced by a row of download pills. Click the Download AAB pill (typically 12 to 25 MB) to get the file. Save it somewhere you can find again, you're about to upload it to Play Console.
Creating the App in Play Console
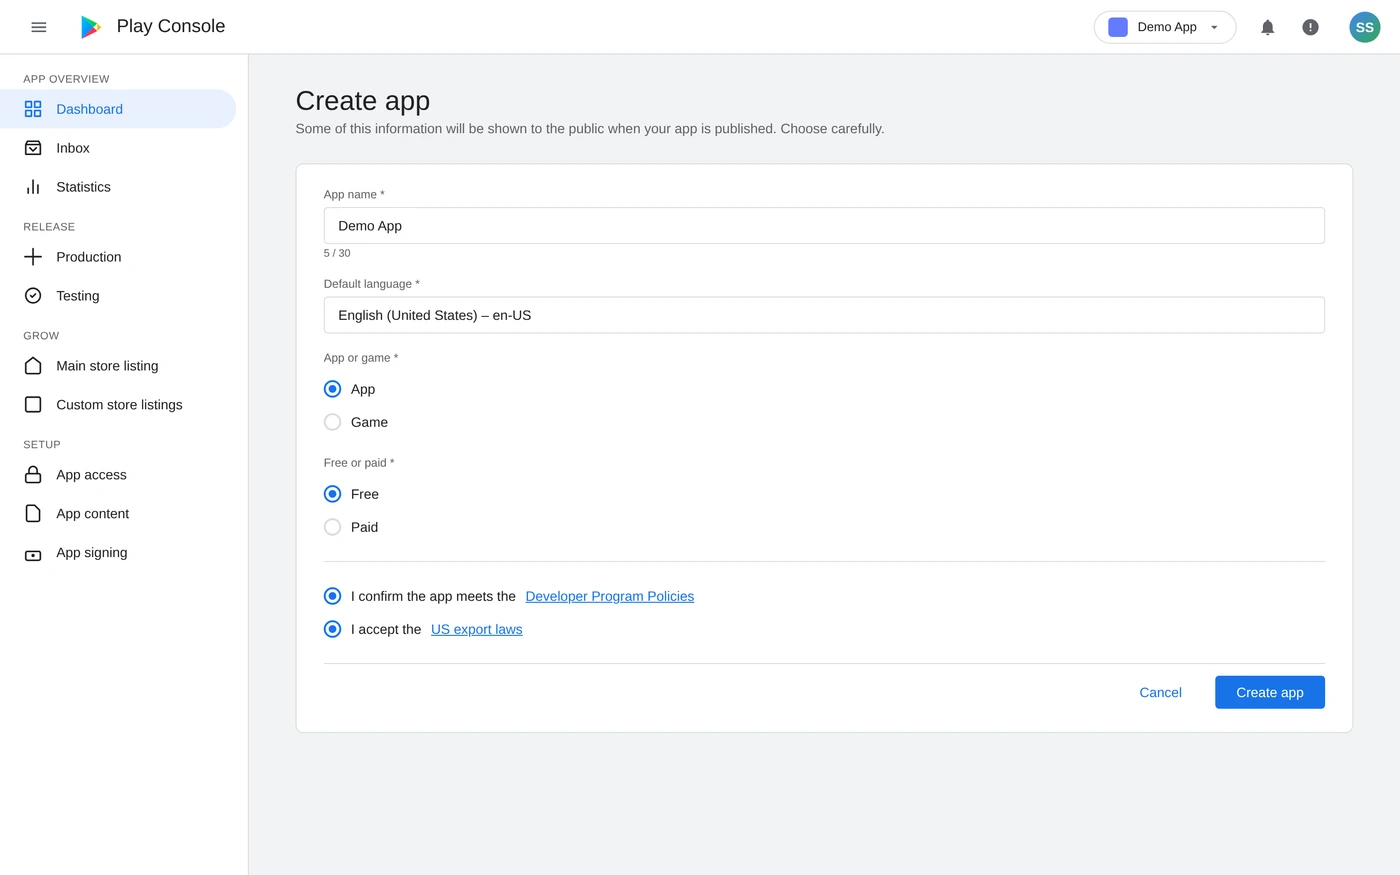
Open https://play.google.com/console in another browser tab. Sign in with the developer Google account. On the All apps page, click Create app in the top-right corner. Google walks you through a four-field dialog:
Pick the app name (must match what is in your AAB), default language, App or Game, Free or Paid. Tick the two policy + export-laws confirmations at the bottom. Click Create app. Google creates the app shell; you now wire up everything else from the Play Console sidebar.
Setting Up the Play Console Listing
Once the app shell is created, the left sidebar shows a Set up your app checklist. Walk through it section by section. Most are wizard-style with Google's own inline help.
Create app: top-right button on the All Apps page. Pick the app name (max 50 chars, must match what is in your AAB), default language, app/game, free/paid. Acknowledge the Play policies. Click Create.
Set up your app sidebar: Google walks you through privacy policy URL, app access, ads, content rating, target audience, news app status, COVID-19 contact tracing status, data safety form. Each section has a wizard, follow it. None take more than 2 to 3 minutes.
Privacy policy URL: paste the public URL Swiftspeed hosts for your app (Settings > Privacy Policy in the editor). Required.
Data safety form: declare every data type your app collects. If your app uses Customer Account, declare "personal info" (email, name) and "user activity" (sessions). Be honest, the form is audited.
Content rating: complete the IARC questionnaire. Most apps land at PEGI 3 / Everyone unless they include user-generated content, ads to under-13s, or violence/strong language.
Store listing (Main store listing in the sidebar): app name (50 chars), short description (80 chars, the most-read text in your listing), full description (4000 chars). Upload the high-res icon (512x512 PNG), feature graphic (1024x500 PNG), and 2 to 8 phone screenshots (1080x1920 minimum).
Asset Generators (Speed Up the Listing)
The icon and screenshots are the two assets that take the longest to produce manually. Swiftspeed has free generators for both:
The Main store listing page in Play Console. App name, short description, full description go in the App details card. Icon (512x512 PNG) and feature graphic (1024x500 PNG) go in Graphics. Two to eight phone screenshots go below, generated in 30 seconds each with the Swiftspeed Screenshot Mockup tool linked above.
Screenshot Mockup Generator: drop in a phone screenshot from your app, pick a phone frame (iPhone, Pixel, Samsung), add a caption overlay, download in Play Store dimensions. Each Play Store screenshot takes maybe 30 seconds with this. Eight finished screenshots in 5 minutes.
App Icon Generator: upload a square logomark (any size from 256x256 up), pick rounded corners or full-bleed, download in every density Apple and Google require, including the 512x512 high-res icon Play Store wants.
Both are free, no sign-up. Use them before submitting to Play Console so the listing has finished assets, not placeholder squares.
Uploading the AAB
With the listing assets in place, you are ready to ship the actual build. From the Play Console sidebar: Production > Create new release. Upload the AAB you downloaded from Swiftspeed.
After clicking Upload in the App bundles section, Google verifies the bundle (30 to 90 seconds), shows it with a green "Verified" badge, and pulls the version code + size from the AAB metadata. Fill in the Release notes below (one block per language), click Next: review release.
In the Play Console left nav: Production > Create new release.
Click Upload in the App bundles section. Pick the AAB you downloaded from Swiftspeed. Google verifies the bundle, checks the signing key fingerprint, and lists supported device types. Verification takes 30 to 90 seconds.
If Google complains "App signing key is different", your local keystore is mismatched against Google's expected signing key for this app. For new apps Google generates the upload key automatically; for existing apps the key must match. See the Common Rejections and Fixes section below.
Fill in Release notes (one block per language). First release usually says "Initial release" or "First public version".
Click Save, then Review release. Google runs automated policy checks (manifest sanity, target SDK level, declared permissions vs actual usage, etc.).
Click Start rollout to Production. Confirm in the dialog. The first release goes into "In review" status.
First-app review takes 1 to 7 days (Google has been at the faster end recently). Updates after the first launch usually clear in hours.
Common Rejections and Fixes
Privacy policy URL missing or unreachable. Set up Privacy Policy in Swiftspeed editor (Settings > Privacy Policy), copy the public URL Swiftspeed generates, paste it into Play Console.
Data safety form incomplete. Google requires you to declare every data type your app collects. If your app uses Customer Account, declare "personal info" (email, name) and "user activity" (sessions). Apps with push notifications also declare "device or other IDs". Be honest, the form is audited.
Target API level too low. Google requires apps to target at least the previous-year's Android API. Swiftspeed builds always target the latest, but verify in the editor's Publish > App Info tab if you see this rejection.
Misleading content. App description claims features the app does not have. Match the description to what is actually in the build, especially around "free", "ad-free", and feature counts.
Restricted content. Apps targeted at under-13s have additional COPPA requirements. Apps with regulated content (gambling, financial services, healthcare claims) have specific declarations on the App content page.
App version mismatch. AAB version code must be higher than the previous one in production. Bump the version code on each new build (the editor does this automatically).
Signing key mismatch. Either you uploaded the wrong AAB (signed with a different key than the one Play Console expects), or you are migrating from another platform. For platform migration, see the keystore-import flow with our support team.
After the Release Goes Live
Internal testing first, before Production: Play Console > Testing > Internal testing lets you push the AAB to up to 100 testers without public review. Catch crashes before paying customers do.
Open testing for soft launch: once Internal looks good, promote to Open testing (anyone with the link can install). Generates real install metrics before public launch.
Reply to Play Store reviews. Google's ranking algorithm rewards developer engagement. Even a "thanks for the feedback" within 48 hours moves the needle.
Watch the Play Console > Statistics page for the first week. Spike in crashes or 1-star reviews means there is a bug your QA missed. Push a hotfix the same day.
Update at a steady cadence. Google rewards apps that ship regularly. Aim for one update every 2 to 4 weeks even if it's only minor copy changes.
Keep submitting. Most apps get rejected once or twice on the way to live. Read the rejection email, fix the specific issue, resubmit.
Tips
Test the AAB locally before uploading. Install via
bundletoolor scan the editor's QR code on a real Android device, the Play Console flags far fewer issues than your own QA process will.Set up Internal testing first. It's a one-time setup, takes 10 minutes, and saves a public review cycle on every future release.
Keep the listing assets in a separate folder. Icon, feature graphic, screenshots, descriptions. When the next major release ships, you can refresh them all at once instead of hunting through Drive folders.
Localise the listing for your top markets. Listings in French / Spanish / Portuguese / Hindi convert 2 to 5x better in those markets than English-only listings.
Promo videos are optional but increase conversion 20%+. A 30-second screen recording with captions, hosted on YouTube, linked from the Play Console listing.